Audio on a Shoestring: DIY Your Own Studio-Grade Mic
When it comes to DIY projects, nothing beats the thrill of crafting something that rivals expensive commercial products. In the microphone build video below, [Electronoobs] found himself inspired by DIY …read more


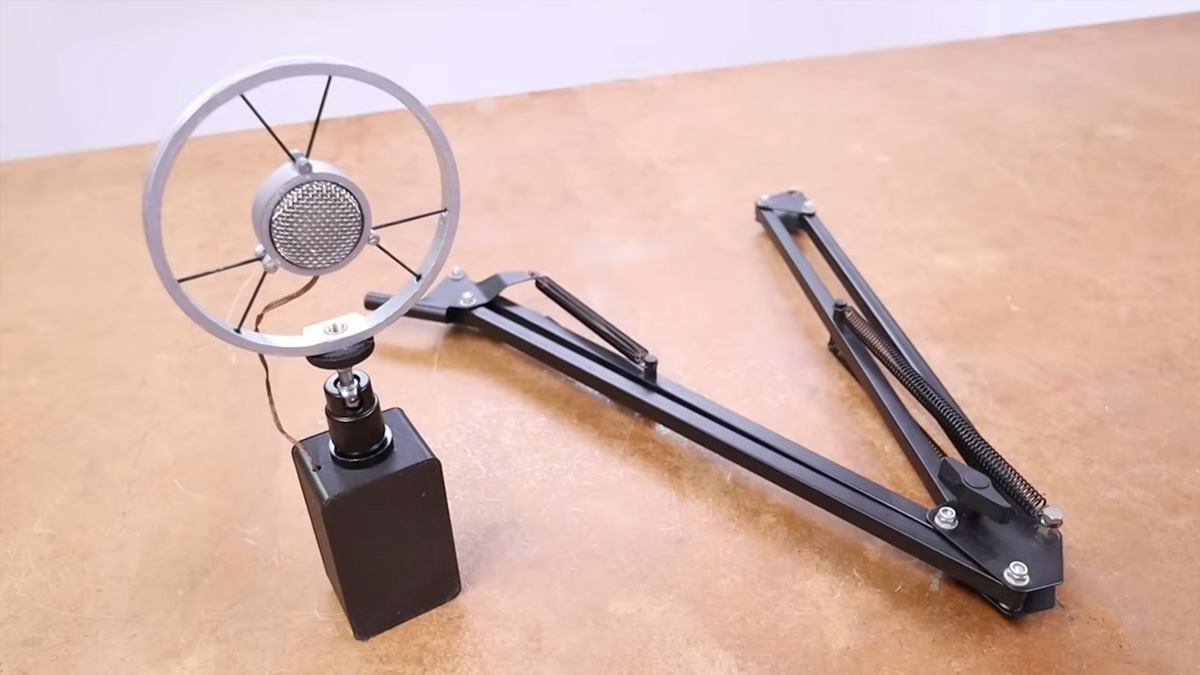
When it comes to DIY projects, nothing beats the thrill of crafting something that rivals expensive commercial products. In the microphone build video below, [Electronoobs] found himself inspired by DIY Perks earlier efforts. He took on the challenge of building a $20 high-quality microphone—a budget-friendly alternative to models priced at $500. The result: an engaging and educational journey that has it’s moments of triumph, it’s challenges, and of course, opportunities for improvement.
The core of the build lies in the JLI-2555 capsule, identical to those found in premium microphones. The process involves assembling a custom PCB for the amplifier, a selection of high-quality capacitors, and designing lightweight yet shielded wiring to minimize noise. [Electronoobs] also demonstrates the importance of a well-constructed metal mesh enclosure to eliminate interference, borrowing techniques like shaping mesh over a wooden template and insulating wires with ultra-thin enamel copper. While the final build does not quite reach the studio-quality level and looks of the referenced DIY Perks’ build, it is an impressive attempt to watch and learn from.
The project’s key challenge here would be achieving consistent audio quality. The microphone struggled with noise, low volume, and single-channel audio, until [Electronoobs] made smart modifications to the shielded wiring and amplification stages. Despite the hurdles, the build stands as an affordable alternative with significant potential for refinement in future iterations.


